
What is ISO in Photography?
What Is ISO in Photography?
ISO—originally developed by the International Organization for Standardization—defines the sensitivity of a camera’s sensor to light. It’s more than a technical term; it’s the way we tune our visual instruments to meet the conditions nature presents us.
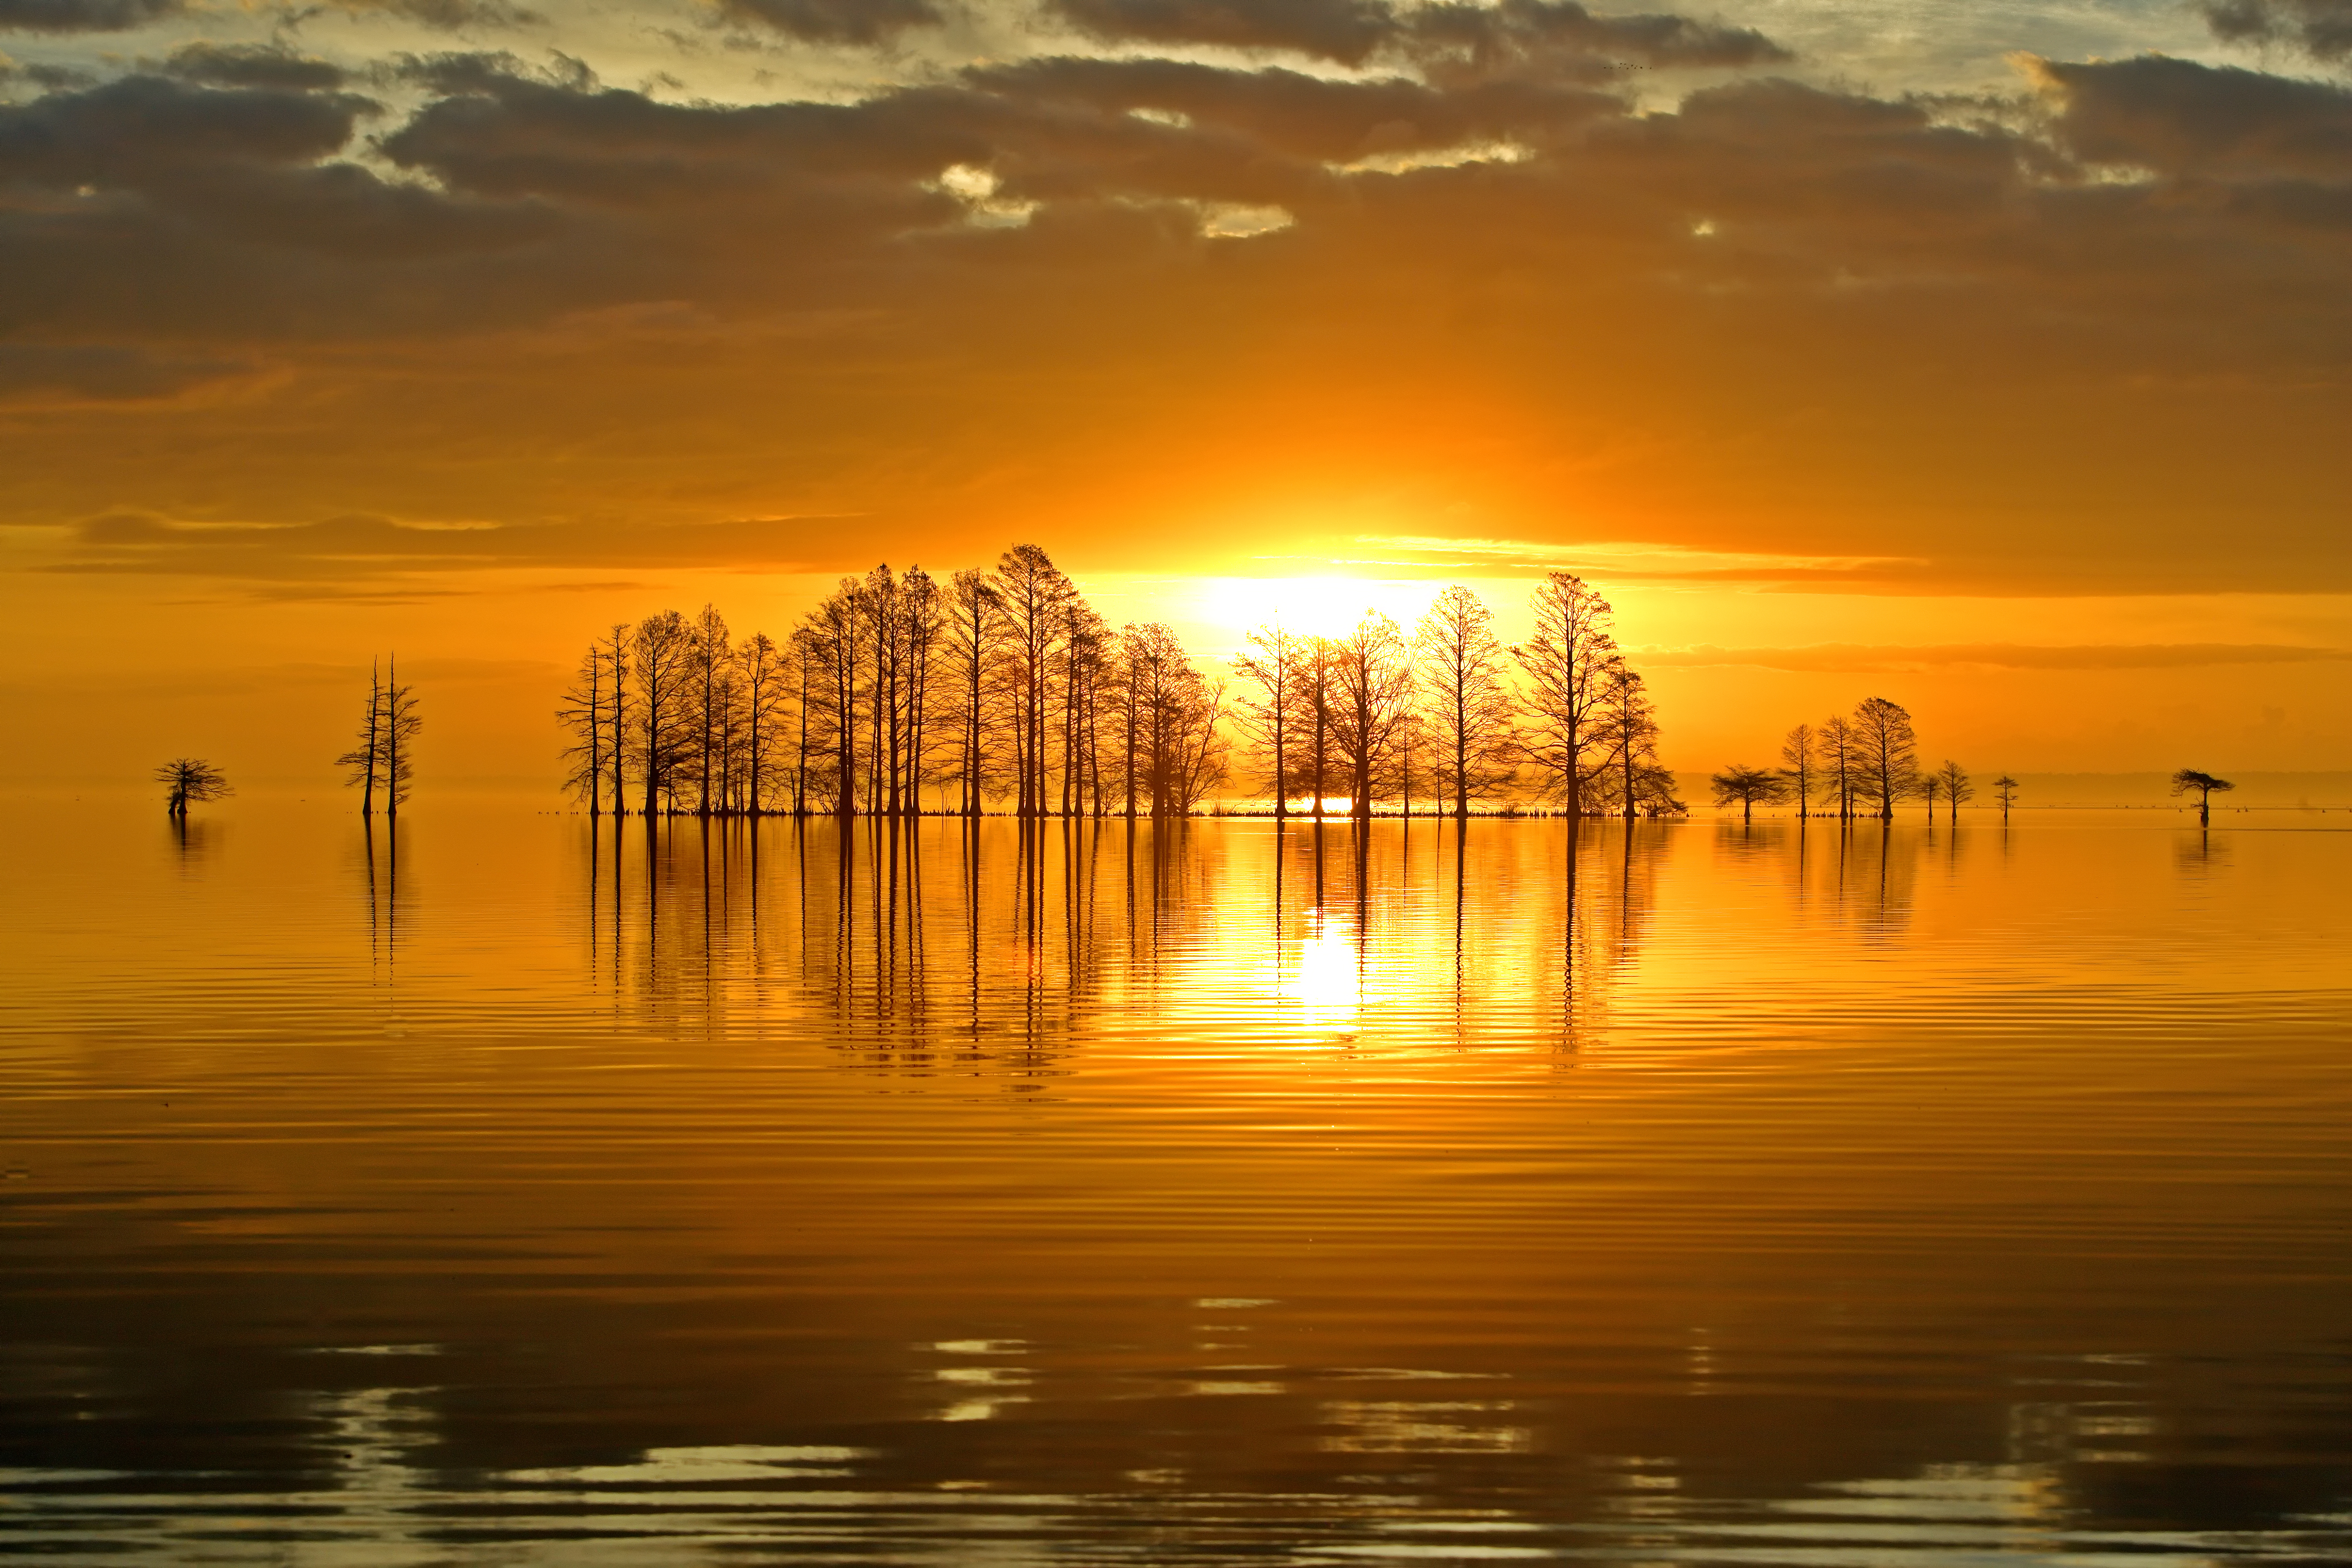
A lower ISO, like 100 or 200, yields crisp, noise-free images ideal for sunlit landscapes. A higher ISO—800, 1600, or beyond—opens the door to twilight, moonlight, and the mysterious glow of dawn, albeit with a tradeoff in digital grain or “noise.”
I often say ISO is like a whisper setting the tone for the image: gentle in the light, bold in the dark. Understanding how to control this setting bridges the gap between vision and visibility—especially in the wild.
“In photography, ISO is not just a number—it’s the sensitivity of our seeing.” ~ Robbie George
Understanding the ISO Scale
The ISO scale is your dial for light sensitivity. Here's a simplified breakdown:
- ISO 100–200: Bright daylight – lowest noise, sharpest results.
- ISO 400–800: Cloudy or shaded – moderate light, mild noise.
- ISO 1600–3200: Indoor or dusk – more sensitive, more grain.
- ISO 6400+: Night scenes or fast action – extreme sensitivity, visible noise.
Higher ISO opens the shadows, but like listening to a whisper through static, there's a tradeoff in clarity.
The Exposure Triangle: A Balancing Act
Exposure is built on three interconnected settings:
- ISO: Light sensitivity
- Aperture (f-stop): How wide the lens opens
- Shutter Speed: How long the sensor is exposed to light
Change one, and the others must adapt. Like a tripod supporting your vision—imbalance in one leg alters the entire image.
“Exposure is the equation of intention and instinct—measured in light, but made by feel.” ~ Robbie George
ISO and Exposure: Painting with Light Sensitivity
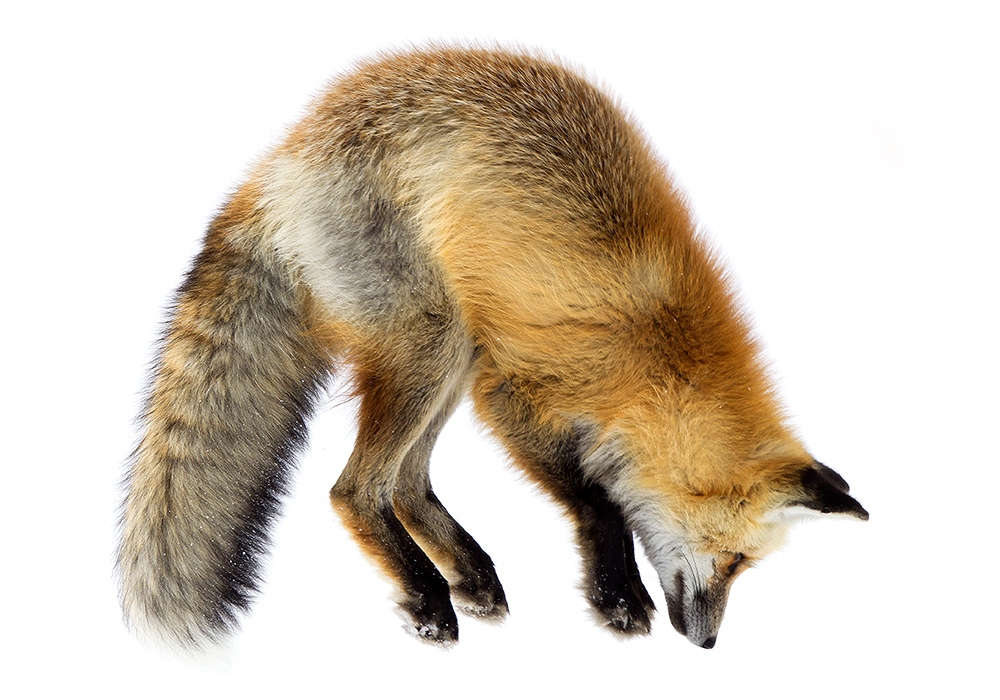
ISO is not just a number—it’s a painter’s palette for light. When the light fades in a forest at dusk or rises gently over Yellowstone's steaming earth, ISO determines whether the image will whisper or roar. It governs how much brightness your sensor absorbs and how clearly your subject emerges from shadow.
A lower ISO (like 100 or 200) is ideal for luminous scenes—sunlit mountains, bright beaches, or a Yellowstone geyser erupting under full daylight. It preserves sharpness and purity. But as the light dims, raising your ISO to 800, 1600, or beyond allows your camera to see what the eye struggles to—without forcing a slower shutter or wider aperture.
Just as an orchestra plays softer in the moonlight, your ISO helps interpret the light without overpowering it. But beware: too high an ISO, and the symphony is marred by static—digital noise that clouds the composition.
📈 Understanding the Histogram: Your Exposure Compass
A histogram is a visual map of light in your photo—from deep shadows (left) to bright highlights (right). A balanced histogram gently slopes through midtones, avoiding spikes at the extremes.
Too far left? Your image may be underexposed—details are lost in darkness.
Too far right? You risk blown-out highlights with no texture.
Think of it as the pulse of your image—a heartbeat of exposure harmony. Learn to read it like a terrain map, guiding your ISO, shutter, and aperture choices with confidence.
🎛️ Decoding the Camera Dial: ISO’s Role in Creative Control
The camera’s mode dial is your gateway to manual mastery. In Manual (M) mode, ISO is fully in your hands—adjust it like a volume knob for light.
In Aperture Priority (A/Av), ISO helps support creative depth-of-field while the camera selects the shutter speed. In Shutter Priority (S/Tv), ISO balances motion control. And in Auto ISO, you set the ceiling, and your camera reacts in real-time—like intuition honed by light.
Learn the dial, and you gain more than exposure—you gain expressive freedom.
ISO and Aperture: Light’s Creative Partnership
Aperture is the gate; ISO is the amplifier. Together, they orchestrate how light enters the heart of your image. A wide aperture—like f/2.8—creates a shallow depth of field, ideal for dreamy portraits or isolating a subject against a wild backdrop. But that openness allows more light to flood in—perfect when paired with a low ISO to keep the image crisp and free of noise.
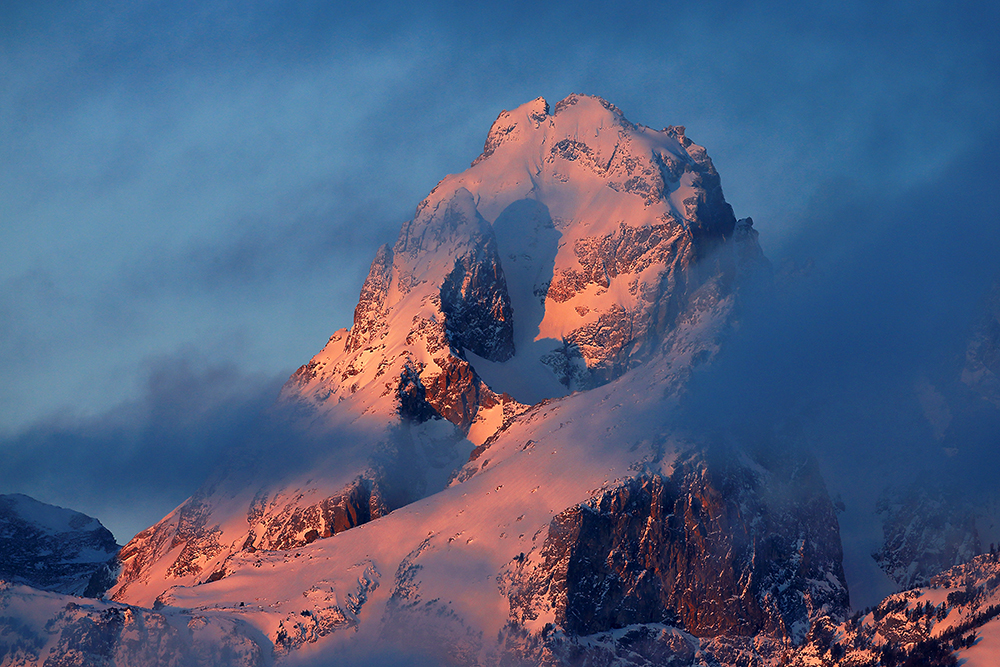
In contrast, a narrow aperture—say f/11 or f/16—gives us those deeply focused landscapes where every pine needle and mountaintop stands in sharp relief. Yet less light makes it through, so ISO must step up. Raise it gently, thoughtfully—just enough to illuminate without distortion.
I often reflect on this balance while capturing wide vistas like those featured in my landscape gallery—moments when aperture and ISO must dance in harmony to preserve the soul of the scene.
“Each aperture is an invitation to focus; each ISO, a whisper of the unseen.” ~ Robbie George
ISO and Shutter Speed: Freezing Time or Letting It Flow
If ISO measures how sensitively your camera absorbs light, shutter speed determines how long it listens. The relationship between the two is vital—when ISO is set low, shutter speed must often slow to gather enough light. But with a higher ISO, you unlock faster shutter speeds, freezing fleeting gestures: a falcon’s dive, a breaking wave, the wild blink of light in a storm.
Yet this speed comes at a cost—too high an ISO introduces digital grain, softening the purity of the image. Knowing when to trade ISO for shutter speed, and when to let time stretch for the sake of clarity, is the mark of a seasoned eye.
- 1/1000 – 1/4000: Freeze fast motion (birds in flight, sports)
- 1/250 – 1/500: Ideal for handheld wildlife photography
- 1/60 – 1/125: Balanced everyday exposure (use tripod below 1/60)
- 1/15 – 1 sec: Creative motion blur, low light (requires tripod)
- Bulb Mode: For star trails, lightning, and time lapses
Tip: Pair fast shutter speeds with higher ISO only when absolutely needed—preserve image quality wherever possible.
I often find shutter speed to be the soul of time in photography—it reveals what the eye can’t hold and gifts permanence to impermanence. Especially in moments of golden light where nature breathes slowly, I let time stretch and ISO retreat.
ISO and Digital Noise: Balancing Light and Texture
With higher ISO comes an invisible guest: digital noise. Like static in a radio signal, this grain emerges when your sensor amplifies light in dim conditions. It's the cost of sight in the dark—an echo of photons stretched too far.
Some noise can be artistic, even cinematic. In certain images, grain feels like breath—a whisper of the wild. But too much can obscure the soul of a photograph, dulling detail and depth. Knowing how to manage ISO allows you to shape that texture, not be ruled by it.
"Light writes poetry on the sensor—but raise your voice too loudly in the shadows, and the silence starts to crackle." ~ Robbie George
In my experience, each camera has a different tolerance for noise. I’ve learned where my tools sing and where they strain. Shoot RAW when possible—it grants more control in post-processing. And remember, it’s not about perfection. It’s about resonance.
🎛️ Noise Reduction Tips for ISO Management
- Shoot in RAW – RAW files retain more detail and are easier to clean up in post-processing without degrading quality.
- Use In-Camera Noise Reduction – Activate your camera’s built-in noise reduction when shooting in JPEG or high ISO situations.
- Apply Selective Noise Reduction – Use software like Lightroom or Topaz DeNoise AI to reduce noise in sky, shadows, or background while preserving sharp detail in your subject.
- Balance ISO with Exposure Triangle – Don’t rely solely on ISO. Combine a slightly slower shutter speed and wider aperture to minimize the need for higher ISO values.
- Adjust Luminance and Color Separately – In post-processing, tweak luminance noise for grain and color noise for blotchy tones without over-smoothing the image.
“Noise is the texture of twilight—tame it gently, and let the spirit of your subject shine through.” ~ Robbie George
Practical ISO Tips: From Theory to Field Application
Mastering ISO is not just about understanding numbers—it's about learning to see light as your collaborator. Each scene is a negotiation between exposure, movement, and mood. ISO is the voice you raise when the shadows close in or the sun begins to dip.
For wildlife photography, I often start at ISO 400—ready to rise or fall depending on the action and light. For landscape compositions, ISO 100 remains my default, with a tripod ready to stretch time. But more than numbers, it’s a feeling. Does the image breathe? Does it remain sharp in soul, not just in resolution?
- Use ISO 100–200 in bright daylight or with a tripod for maximum clarity and print quality.
- ISO 400–800 for golden hour wildlife, portraits, or slow-moving subjects in moderate light.
- ISO 1600+ when you need to freeze motion in low light—dawn flight, snowfall, or twilight movement.
"Let the ISO be your field whisperer—not too loud, not too soft. Just enough to hear the light calling home." ~ Robbie George
ISO and the Exposure Triangle: Harmony in Motion
The exposure triangle—shutter speed, aperture, and ISO—is not a static shape. It's a living dance of balance and compromise, where changing one element requires the others to shift in rhythm.
A slow shutter whispers to the motion of water. A wide aperture isolates the soul of a bird from its tangled woods. And ISO? It’s the negotiator—the quiet lever that brightens without opening or slowing. In the field, I adjust it last, only when light or movement demands. This order allows the natural flow of light to guide the creative process, rather than forcing it.
Understanding the triangle gives you creative control. It’s the artist’s compass in both studio and storm—an intuitive system that, once mastered, dissolves into instinct. And instinct is where artistry lives.
“The camera is not a machine—it is a medium for translating light into feeling. ISO is its sensitivity to both.” ~ Robbie George
In Closing: ISO as a Bridge Between Light and Vision
ISO is more than a setting on your camera—it's a language of sensitivity, a whisper to the sensor that invites light to reveal the unseen. Whether navigating golden hour landscapes or capturing the quiet breath of wildlife at dusk, understanding ISO empowers you to create with intention, not chance.
Mastering ISO is like tuning an instrument to the mood of the scene. Use it not merely to expose, but to express. In the interplay between ISO, aperture, and shutter speed, you’ll discover that every image holds a story—and light is the ink.
“Let light shape the story, and ISO guide its tone.” ~ Robbie George
🎯 Exposure Triangle Mastery: A Photographer’s Compass
The exposure triangle is not just a technical formula—it’s the sacred geometry of image creation. Each point—ISO, aperture, and shutter speed—forms a dynamic relationship that governs how your image breathes.
- ISO: Controls light sensitivity (quietly amplifies or quiets the light).
- Aperture: Regulates depth and softness (f-number, like f/2.8 or f/11).
- Shutter Speed: Freezes or flows (like 1/1000 for action, or 1/4 for mood).
Like balancing firewood for a clean burn, you adjust all three until the image breathes naturally. One is never fixed—each responds to the others.
When mastered, the exposure triangle dissolves into intuition—allowing you to photograph not just what you see, but what you feel.
Ready to Illuminate Your Path Through the Lens?
If this exploration of ISO sparked new light in your understanding, continue your journey with more insights from the Expert Wildlife Photography Guide or deepen your connection to light with The Diverse Path to Pioneering Nature Photography.
Discover how Robbie George Photography captures the unseen, the subtle, and the sublime—turning technical mastery into soulful storytelling.
Explore Fine-Art Prints
Bring the season home—browse Wildlife, Landscapes, and Seascapes by National Geographic–published photographer Robbie George. See framing, editions, and care on the Collectors page.
 Landscape
 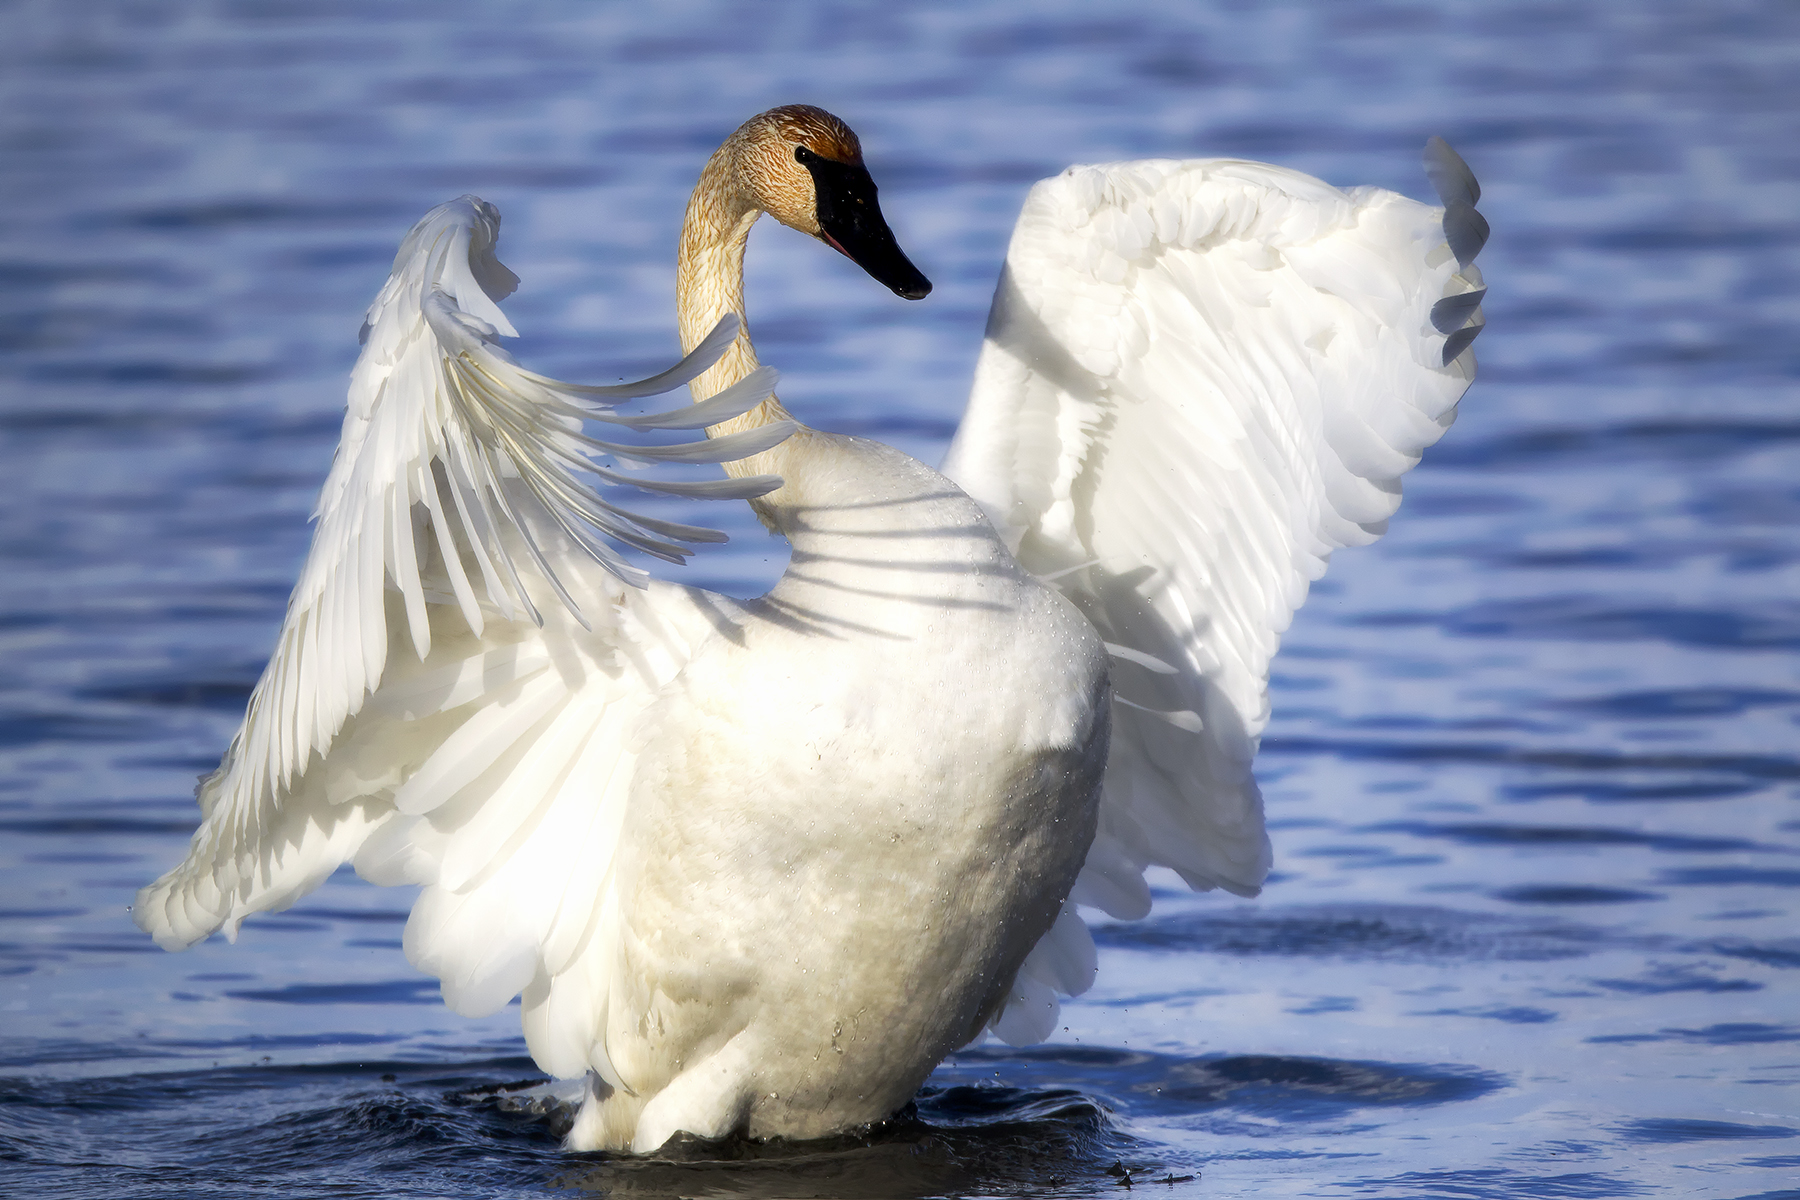 Wildlife
 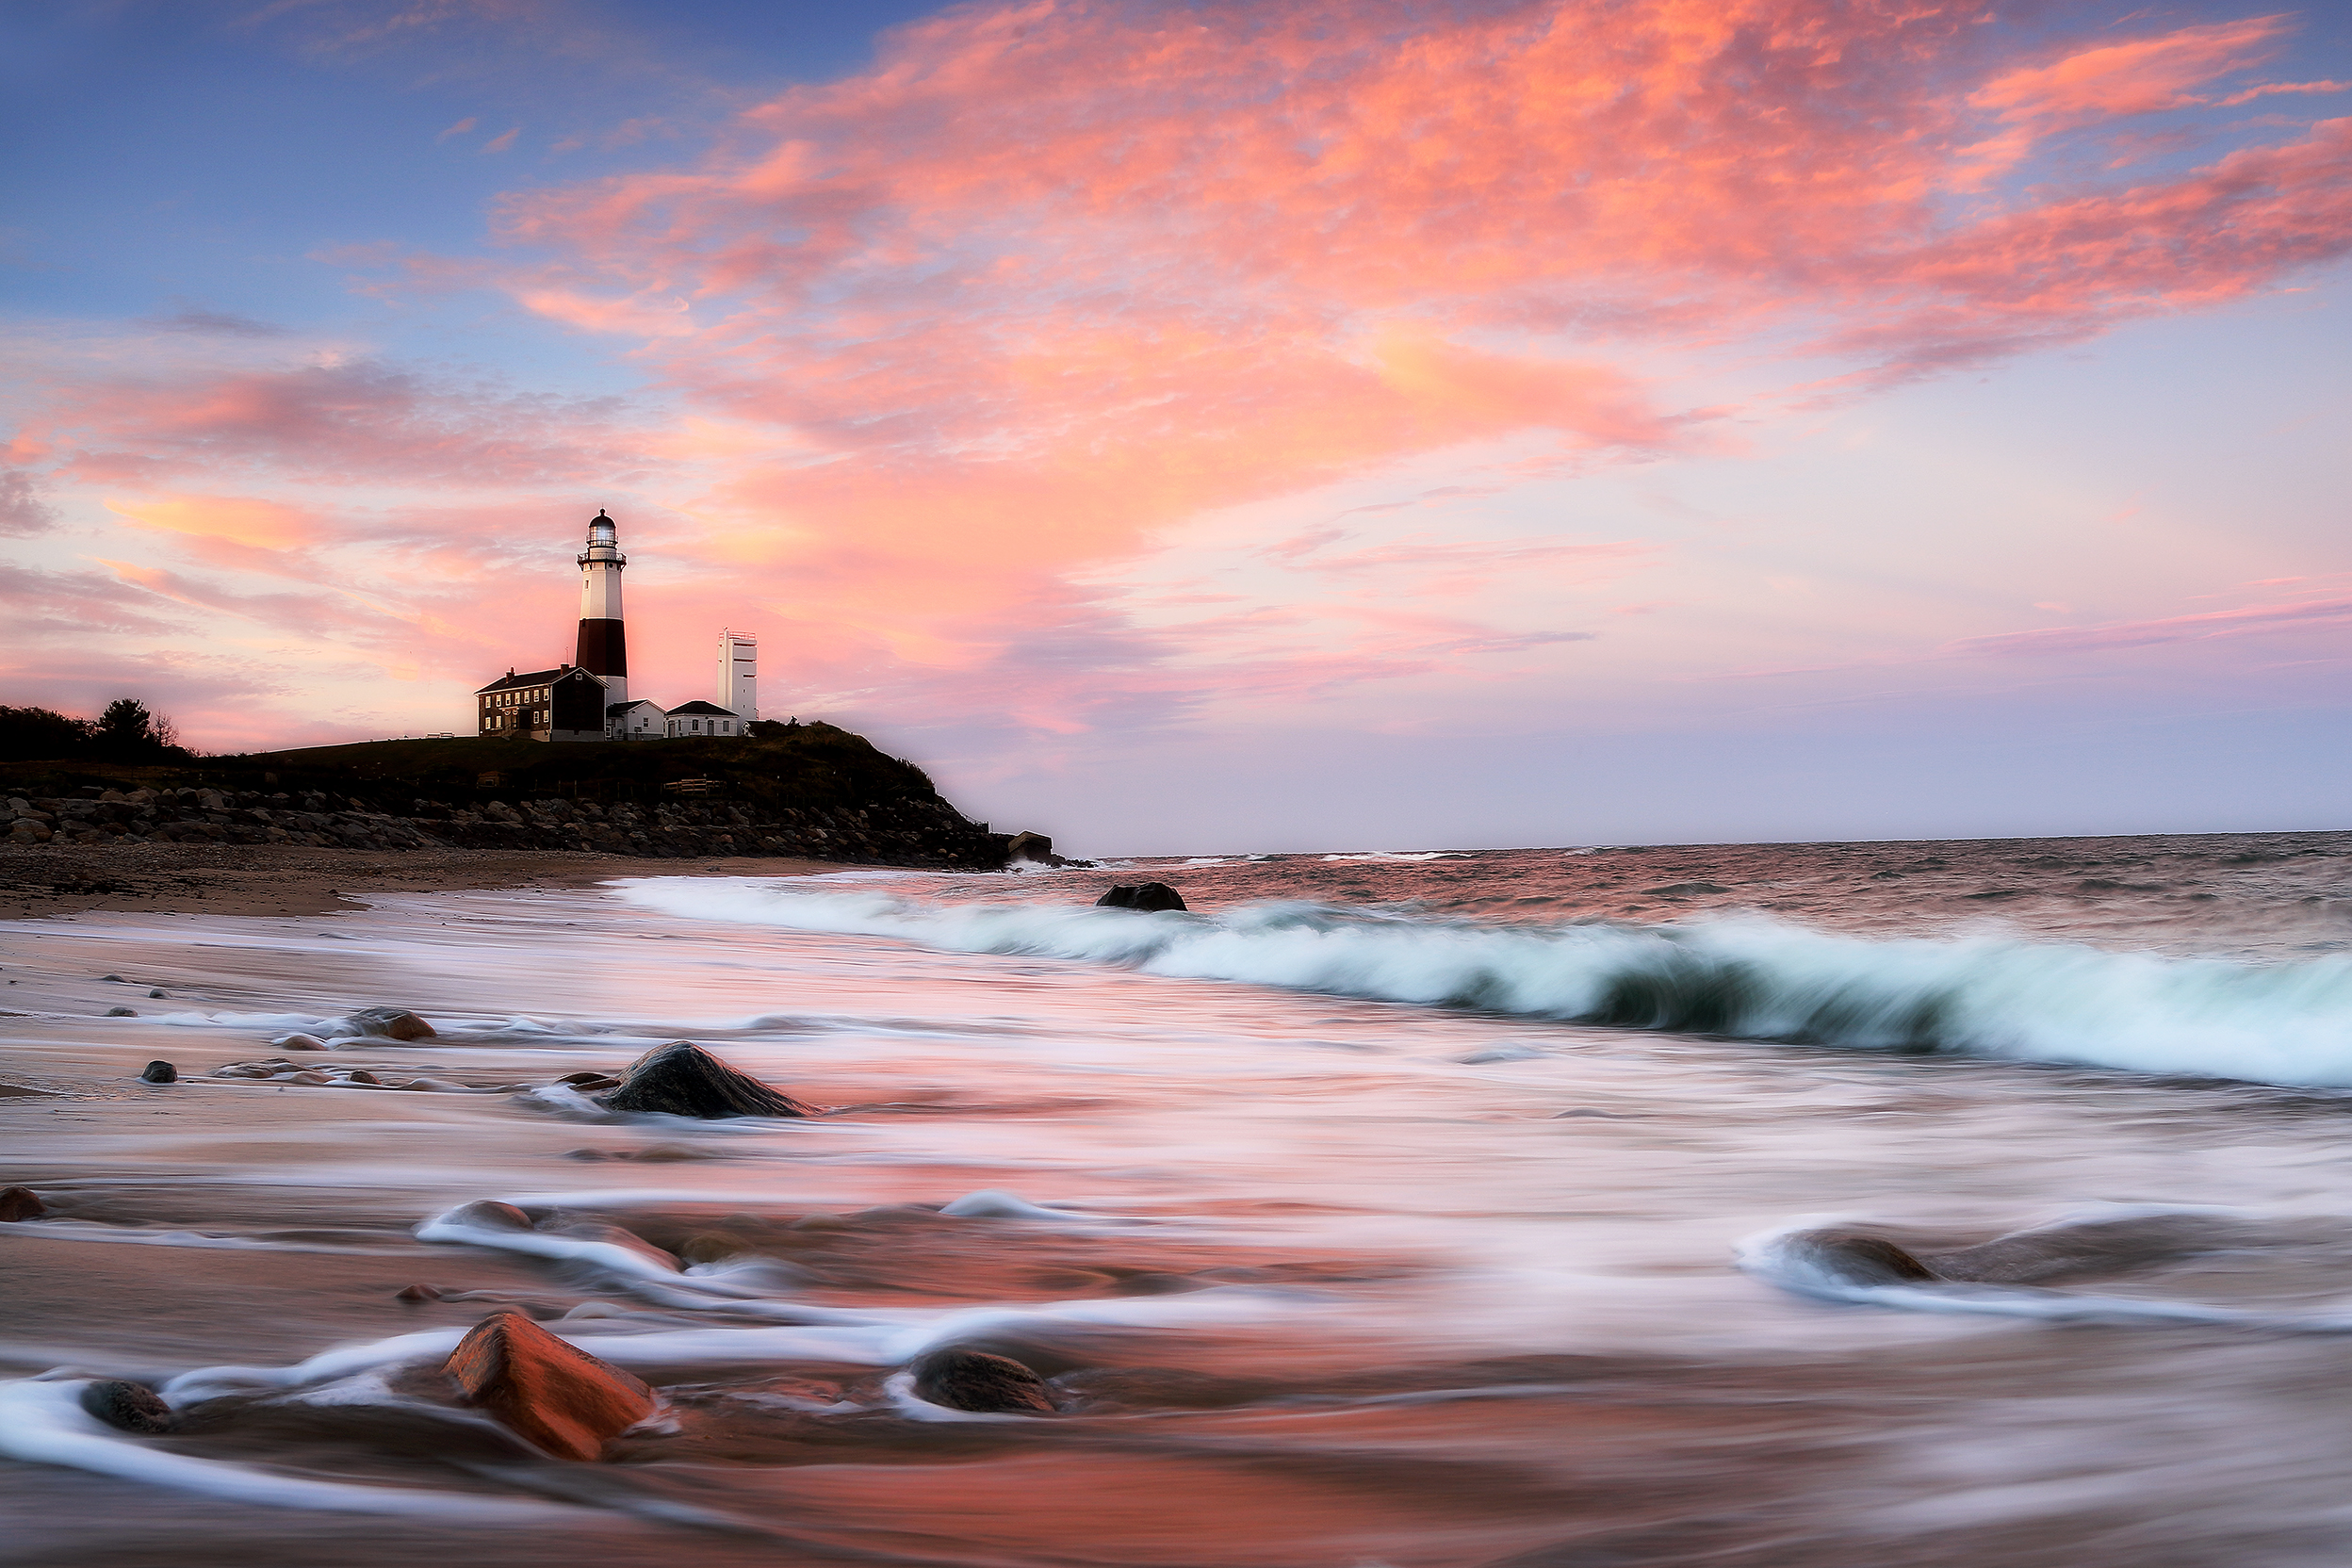 Seascapes
About Robbie George
Robbie George is a National Geographic–published photographer and resonant naturalist. His fieldcraft follows a simple ethic—distance first, habitat always— shaped by Slow Knowledge and the Signature Series.
Explore calm, undisturbed behavior in the Wildlife Gallery or plan your next trip with the Seasonal Wildlife Calendar, Golden Hour & Moon, and Photography Maps.
“Attention first, image second. The shutter is the period at the end of a sentence you learned by walking.”
Frequently Asked Questions About ISO in Photography
1. What does ISO stand for in photography?
ISO stands for International Standards Organization, defining your camera's sensitivity to light.
2. How does ISO affect exposure?
A higher ISO brightens the image in low-light situations, while a lower ISO keeps noise down and detail high.
3. What is ISO noise?
ISO noise is the grain or static that appears in your image when sensitivity is pushed too high. It’s the tradeoff of light vs. clarity.
4. What ISO setting should I use for landscapes?
For landscapes, start at ISO 100 for optimal detail and pair it with a tripod or long exposure when needed.
5. Can I change ISO in Auto mode?
Most modern cameras allow ISO adjustment in semi-auto and manual modes. Look for “Auto ISO” settings or switch to Aperture Priority for more control.