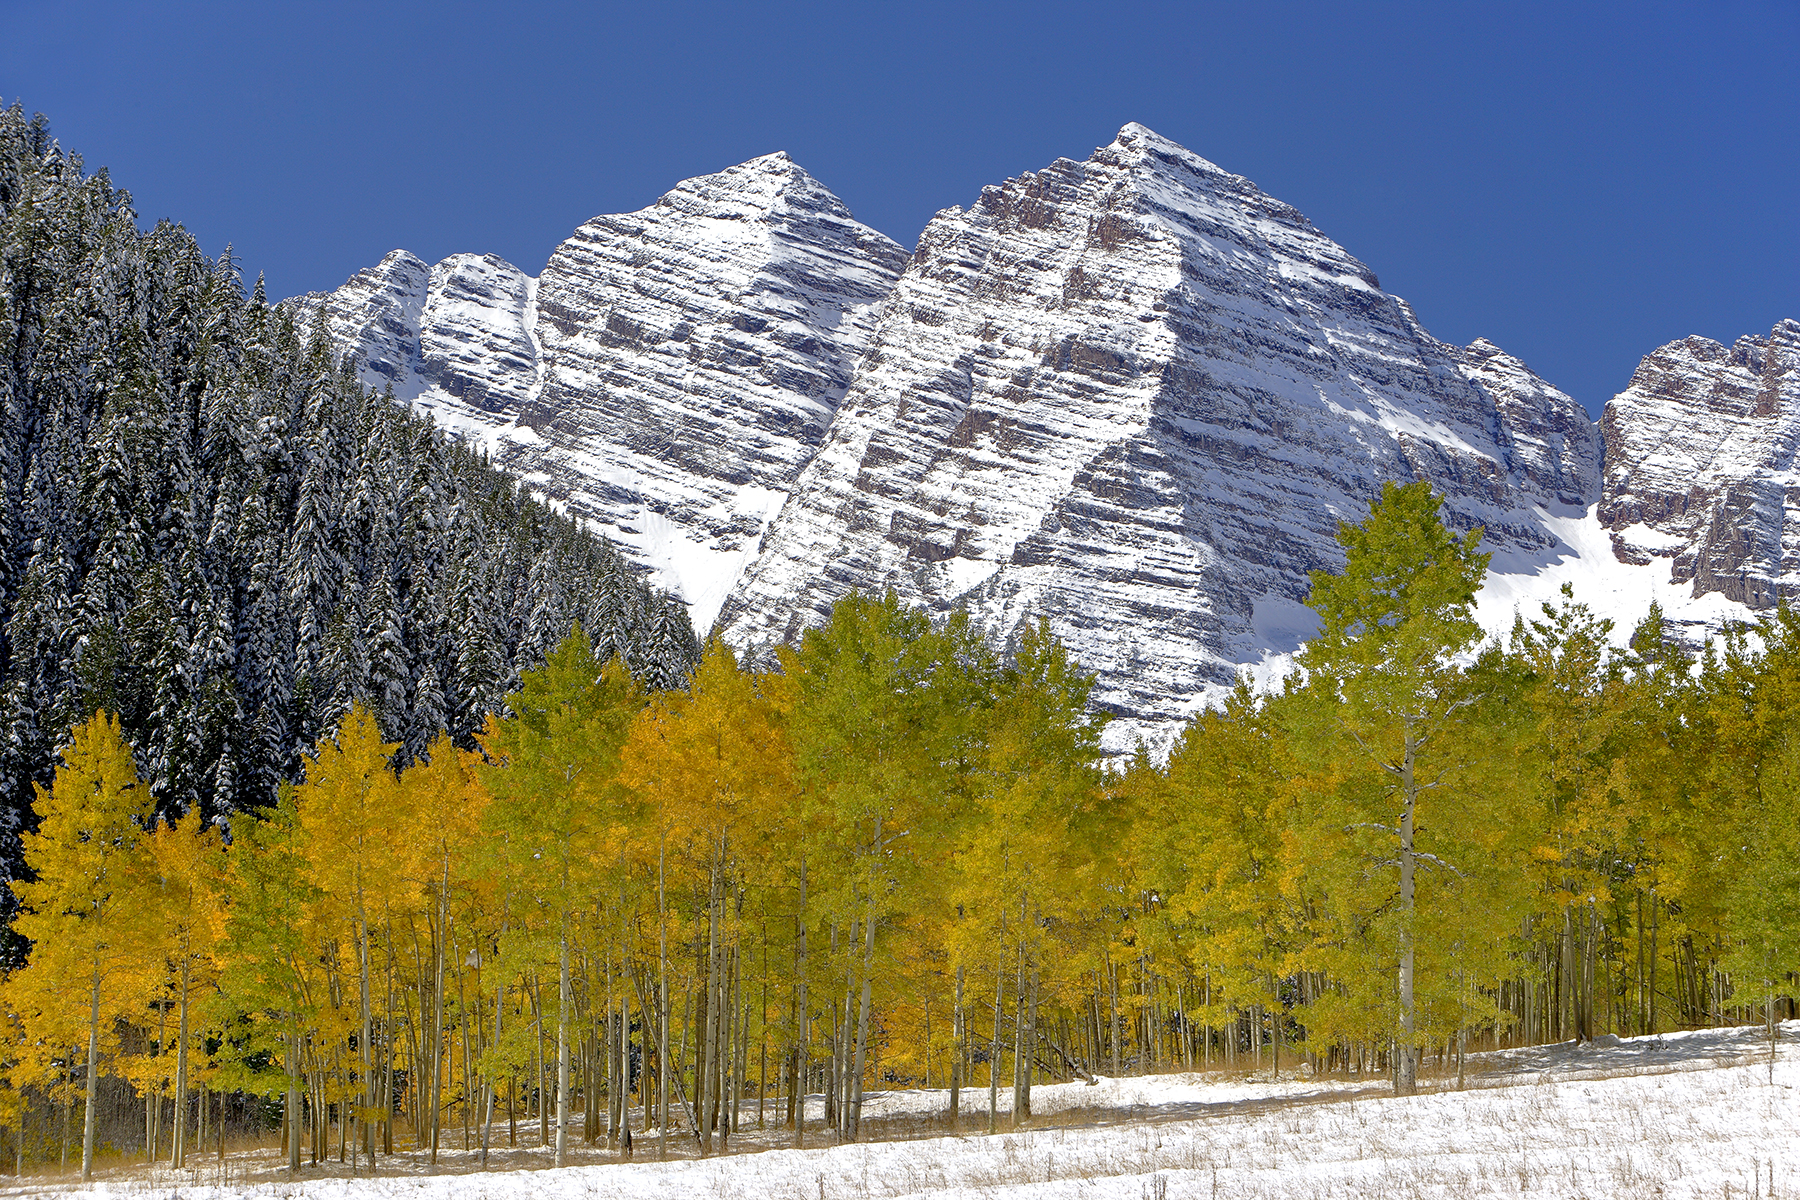
In the field, detail feels infinite. A mountain range stretches beyond the frame, textures in snow and trees resolve naturally to the eye, and distance is part of how the scene is experienced. But when that moment becomes a print on a wall, everything changes — size, distance, and resolution now shape how that image is actually seen.
This tool helps you translate a photograph from pixels to real space. Enter your image resolution to calculate maximum print sizes, understand PPI at different viewing distances, and confidently choose the right size for your room, your wall, and the way the image will live over time.
What this tool helps you do:
Calculate ideal print size based on your image resolution
Understand how viewing distance changes perceived sharpness
Compare paper, metal, and canvas PPI expectations
Choose sizes with confidence before ordering prints
A print is never experienced at pixel level alone. It is experienced at a distance, in a room, on a material, and at a scale that changes how detail resolves to the eye. This planner helps you move from file resolution to a print size that makes sense in real life.
Enter your image dimensions or megapixels, choose your viewing distance and medium, and the tool will show recommended PPI targets, maximum suggested print sizes, and how common sizes perform for paper, metal, or canvas.
How to Use the Tool
This tool is built to answer a practical question: how large can an image be printed before detail starts to break down for the way it will actually be viewed? The answer depends on more than file size alone. It depends on crop, aspect ratio, room distance, and the material you plan to print on.
Use the steps below to move from your file dimensions to a print size that makes sense in real space, whether you are choosing a paper print for a quiet room, a larger metal print for brighter walls, or canvas for a softer long-distance presentation.
1. Enter Your Resolution
Add your image width and height in pixels, or enter megapixels and choose the aspect ratio. If you expect to crop the image, include that too so your size estimates reflect the final composition.
2. Choose Distance & Medium
Select how the print will usually be seen — desk, small room, living room, gallery wall, or large space — and then choose paper, metal, or canvas. That combination determines the recommended target PPI.
3. Review the Output
Look at the recommended target PPI, maximum suggested size at that target, the quality bands, and the common-size table. Together, these show not just what is possible, but what is likely to look strong on the wall.
Simple rule of thumb: a technically smaller print can look better than a larger one if the viewing distance is close. But once a print moves farther from the eye, the room itself becomes part of the viewing equation — which is why this tool is built around real display conditions, not abstract file specs alone.
Understanding PPI in Real Spaces
PPI (pixels per inch) is often treated like a fixed quality number, but in practice it is something your eye experiences differently depending on distance. The closer you are to a print, the more detail your eye expects. The farther away you are, the more those pixels blend together into a complete image.
That means a print that looks soft at arm’s length can look perfectly sharp across a room. This is why print sizing is not just about resolution — it’s about how the image will actually be viewed in the space where it lives.
Viewing Distance
Typical PPI Range
How It Feels
Desk / ≤2 ft
240–300 PPI
Highly detailed, pixel-level clarity
Small room (2–4 ft)
200–240 PPI
Sharp with strong fine detail
Living room (4–6 ft)
150–200 PPI
Crisp at normal viewing distance
Gallery wall (6–10 ft)
120–160 PPI
Clean and resolved from across the room
Large space (10–20 ft)
80–120 PPI
Blends visually at distance
Key idea: resolution does not exist in isolation. It exists in relationship to distance. A 40×60" print at 150 PPI can feel just as sharp across a room as a smaller print at 300 PPI viewed up close.
Why Material Matters
Different materials change how detail is perceived. Glossy surfaces like metal or high-end paper hold sharp detail more tightly, while textured surfaces like canvas soften transitions and allow slightly lower PPI to still feel natural.
The right print size is not just about how large you can go — it’s about how the image will actually be seen in the space where it lives. A print viewed from across a room behaves differently than one seen up close, and the goal is to match size to distance so the image feels natural and resolved.
Use these real-world scenarios as a guide alongside the planner results to choose a size that fits both your wall and your viewing experience.
Desk / Close Viewing
≤2 ft viewing distance
Smaller prints perform best here — typically 8×10 to 12×18. Higher PPI (240–300) keeps fine detail crisp when viewed closely.
Small Rooms
2–4 ft viewing distance
Mid-size prints (12×18 to 16×24) balance detail and presence. Around 200–240 PPI keeps images sharp without over-constraining size.
Living Rooms
4–6 ft viewing distance
Larger statement pieces (16×24 to 30×45 or bigger) work well. 150–200 PPI typically looks crisp at normal viewing distance.
Gallery Walls
6–10 ft viewing distance
Bigger formats (24×36 to 40×60+) begin to feel natural. Detail blends at distance, so 120–160 PPI is often more than enough.
Large Spaces
10–20 ft viewing distance
Very large prints (40×60 and beyond) hold together well even at lower PPI. The room itself becomes part of the viewing experience.
From field to wall: when you photograph a landscape, you are already experiencing it at distance — your eye moves across the scene, not pixel by pixel. Large prints recreate that feeling. Smaller prints, on the other hand, invite closer inspection and finer detail. Choosing size is really about deciding how you want the image to be experienced.
Resolution is only part of print quality. The material itself changes how detail is held, how contrast feels, and how sharpness is perceived once the image is on the wall. A glossy surface reveals detail differently than textured canvas, and those differences matter when you are deciding how large to print.
This is why the planner adjusts expectations by medium. Paper, metal, and canvas do not ask the eye to read detail in the same way.
Fine-Art Paper
Paper holds fine detail beautifully, especially when the image is meant to be viewed with a quieter, more contemplative feel. It tends to reward stronger PPI because the surface preserves small tonal transitions and subtle texture.
For close and mid-distance viewing, paper usually performs best when you stay in the higher PPI ranges. This is often the right choice when you want nuance, softness, and a more traditional fine-art presentation.
Metal tends to emphasize clarity, contrast, and brightness. It can make an image feel especially crisp, which is why it performs well for bolder work and for spaces where a more modern finish makes sense.
Because of its clean surface and stronger visual snap, metal often handles moderate PPI very well at living-room and gallery-wall distances. It is especially effective for prints with strong tonal separation, open skies, snow, water, and graphic landscapes.
Canvas softens detail slightly because of its texture, and that is part of its appeal. It creates a warmer, more painterly presence on the wall and generally tolerates lower PPI than paper or metal.
This makes canvas a strong option for larger wall pieces viewed at normal room distance, especially when the goal is atmosphere and presence rather than pixel-level sharpness.
Simple way to think about it: paper rewards resolution, metal amplifies clarity, and canvas forgives. The right choice depends on how closely the print will be viewed, what kind of image you are printing, and how you want it to feel once it is on the wall.
From Field to Wall
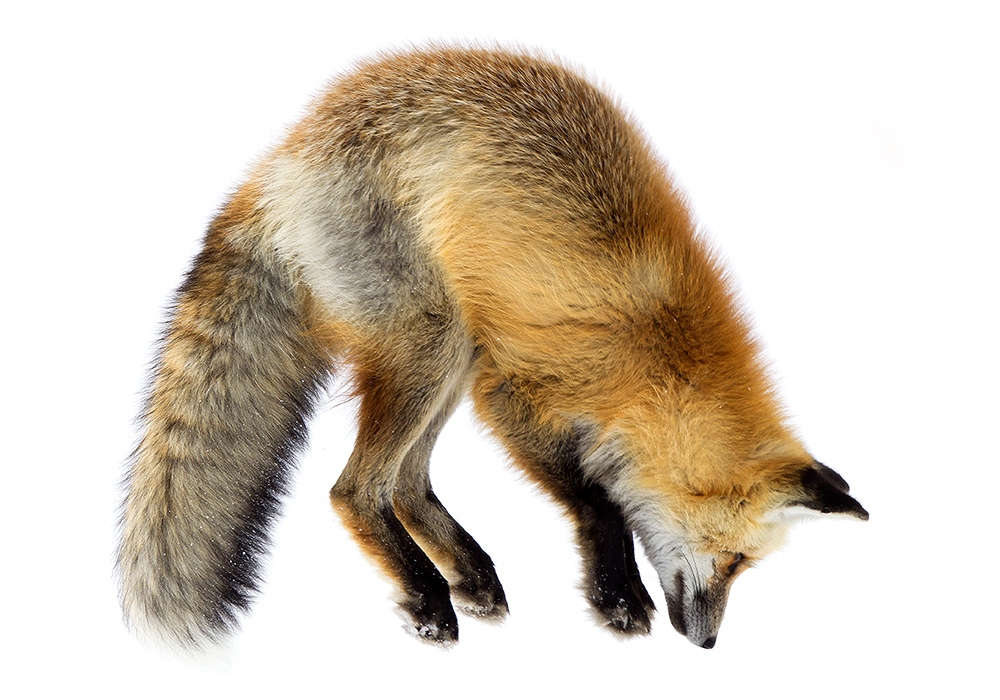
In the field, you are not looking at pixels — you are experiencing scale. A mountain range fills your vision. A bird moves across distance. Light changes across space, not across inches. Your eye naturally adjusts to distance, and detail resolves based on how far you are from the scene.
When that same moment becomes a print, the experience compresses. The scene is now fixed in size, and the viewer’s distance becomes the defining factor. A large print viewed from across a room can recreate the feeling of being there, while a smaller print invites closer inspection and finer detail.
This is why print size is not just a technical decision — it is an experiential one. You are choosing how the image will be seen, how the eye will move across it, and how the space around it becomes part of the photograph.
Large scenes are experienced at distance in the field — print size determines whether that feeling carries through to the wall.
The key idea: the best print size is not the largest possible — it is the one that recreates how the image was meant to be experienced.
Print size and resolution decisions are not separate from how we experience nature. Light, distance, perception, and material all shape what the eye can actually resolve — first in the field, and then again on the wall.
Light & Resolution
Detail begins with light. What a sensor captures and what a print reveals both depend on how light carries information across distance.
At a deeper level, print sizing connects light, perception, scale, and material into one continuous experience from field observation to finished presentation.
Print size decisions work best when they connect to the rest of the process — material choice, room light, viewing distance, presentation style, and the kind of image you want to live with every day.
These next steps help you move from size calculations into confident print selection, material comparison, and a better overall fit between the image, the wall, and the space around it.
Best use of this page: start with the planner, narrow your size range, then compare materials and collector guidance before ordering. That sequence usually leads to the strongest match between file quality, wall size, and final presentation.
Print Size FAQs
Common questions about print size, viewing distance, PPI, materials, cropping, and how to choose a size that fits both the image and the room.
What PPI should I target for a fine-art print?
It depends on viewing distance and material. Close viewing usually benefits from 240–300 PPI, living-room viewing often looks excellent around 150–200 PPI, and larger wall displays can still look strong at 120–160 PPI. Canvas generally tolerates lower PPI than paper or metal.
Does a larger print always need higher resolution?
Not always. Larger prints are usually viewed from farther away, which means the eye does not need the same pixel density it would need for a small print seen up close. Size and distance work together.
What print size looks best in a living room?
For many living rooms, sizes like 16×24, 20×30, 24×36, or 30×45 work well, depending on wall space and image proportion. At normal viewing distance, 150–200 PPI is often enough to look crisp and natural.
Is canvas more forgiving than paper or metal?
Yes. Canvas texture softens detail slightly, which means it can still look strong at lower PPI than smoother materials. That makes it a practical option for larger prints viewed from normal room distance.
What happens if my aspect ratio does not match the print size?
You will usually need to crop the image or add borders. This tool assumes a filled print size, which means the image may need to be trimmed to match the selected proportions.
Should I use pixels or megapixels in the planner?
Pixels are most precise when you already know your exported file size. Megapixels are useful when you know the camera resolution but still need to estimate output size based on aspect ratio and crop.
Is AI upscaling okay for large prints?
It can be, especially when used moderately for larger wall pieces viewed at distance. Upscaling often works best when the original file is already strong and when the final material or viewing conditions do not demand extreme close-range inspection.
How does this page fit into the rest of the site?
This page connects print sizing to the larger Robbie George Photography system — including field observation, print materials, collector guidance, image presentation, and the Naturepedia framework behind light, perception, and scale.
About the Author
Robbie George is a nature photographer, writer, and field-based observer whose work connects place, light, wildlife, and the lived experience of the natural world.
That field perspective shapes how he approaches print presentation. Size is never just a technical specification — it affects how an image is experienced, how detail resolves across a room, and how the final photograph carries the feeling of the original moment into daily life.
This page is part of the larger Robbie George Photography system, helping collectors and viewers connect print-size decisions back to image quality, room conditions, materials, and the deeper Naturepedia framework behind light, perception, and scale.
The presence of this badge signifies that this business has officially registered with the Art Storefronts Organization and has an established track record of selling art.
It also means that buyers can trust that they are buying from a legitimate business. Art sellers that conduct fraudulent activity or that receive numerous complaints from buyers will have this badge revoked. If you would like to file a complaint about this seller, please do so here.
Verified Returns & Exchanges
The Art Storefronts Organization has verified that this business has provided a returns & exchanges policy for all art purchases.
Description of Policy from Merchant:
What is your Policy on Returns/Exchanges/Refunds?
I take great pride in my work and prints, and I want you to be completely happy with your investment in my nature art. If for any reason you are unsatisfied with your print, you may return it within 14 days of delivery, and/or exchange it for another print. Prints must be returned in new condition, packaged carefully in the original packaging if possible. Your refund will be issued as soon as I receive the returned print. Please contact me if you would like to arrange a return or exchange.
In the event that you receive a damaged or defective print, please let me know within 7 days of receipt, and I will arrange for a new print to be shipped to you at no additional cost.
Verified Secure Website with Safe Checkout
This website provides a secure checkout with SSL encryption.
Verified Archival Materials Used
The Art Storefronts Organization has verified that this Art Seller has published information about the archival materials used to create their products in an effort to provide transparency to buyers.
Description from Merchant:
Fine Art Prints are made with high-quality archival inks on fine art papers using a high-resolution large format inkjet printer. Our premium archival inks produce images with smooth tones and rich colors. Prints are made with care on your choice of exquisite Fine Art Papers using a high-resolution large format inkjet printer. https://www.graphikprintworks.com
Become a supporter of Robbie George Photography and be the first to receive new content and special promotions.
“Every image is a field. Every quote is a key. Welcome back to the rhythm.” ~Robbie
Cart
Your cart is currently empty.
Saved Successfully.
This is only visible to you because you are logged in and are authorized to manage this website. This message is not visible to other website visitors.
Import From Instagram
Click on any Image to continue
This Website Supports Augmented Reality to Live Preview Art
This means you can use the camera on your phone or tablet and superimpose any piece of nature art onto a wall inside of your home or business.
To use this feature, Just look for the "Live Preview AR" button when viewing any piece of nature art on this website!